It’s been several months since I last wrote something in this section of my web site, and a lot has happened in that time. After a very quiet summer last year, I really had to take a close look at what Little Acorn Furniture was doing and where it was going. No one thing changed but over the winter several things seemed to fall into place. I am immensely great full to a number of people for this and couldn’t possibly thank them enough for their invaluable support and input. The start to this year finds Little Acorn Furniture with fully booked courses and a string of fantastic reviews and comments from all who have attended (Thank you, everyone). More contract work and clients than ever before, and a new commitment and partnership with White Wood Management that promises a very exciting and diverse future for both of us.
Add to this a forthcoming article in Devon Life Magazine and a place on the Dartmoor Artisan trail and things really do look promising.
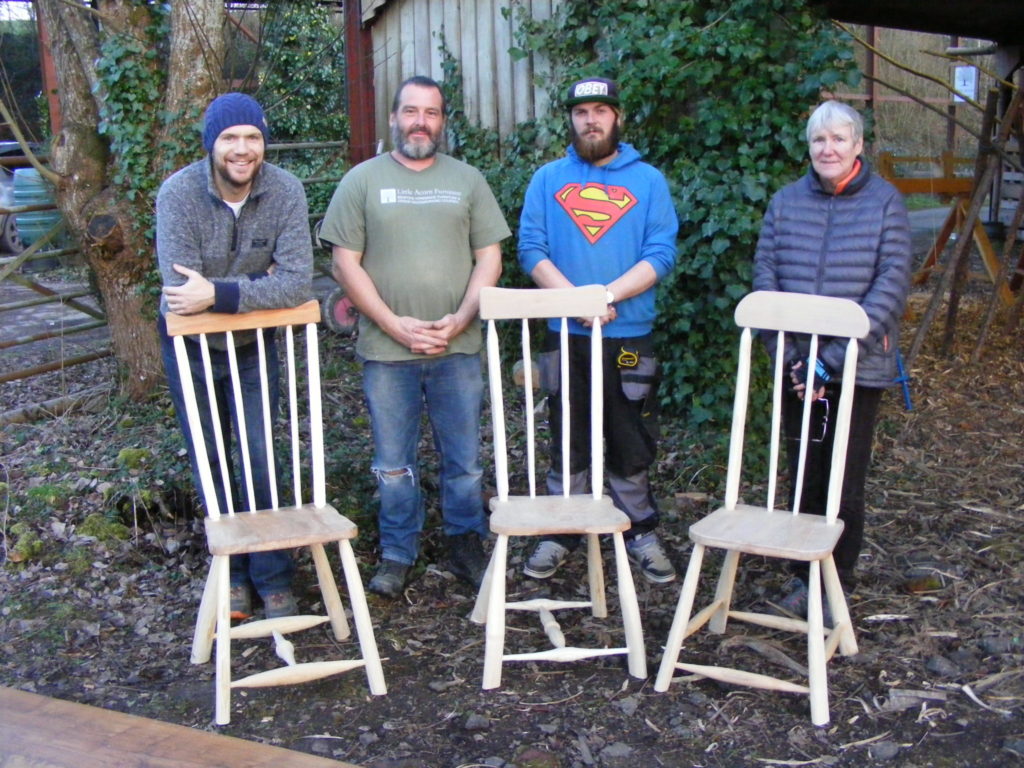
For the next few blog posts, I will be focusing on something else that happened this winter and that is the first of a brand new Chair making course. My aim has always been that whoever visits my workshop take away with them something unique that they have made from scratch themselves. This is not so much of a challenge for me when it comes to stools, pole lathed dibbers and bats or even tables. Chairs, however, pose a number of technical challenges and the obvious thing to do is to all make the same chair. on each course. This increases everyone’s chance of success and keeps my stress and preparation levels just about manageable. But that is not what I wanted for my visitors, they must make something entirely unique and to their own tastes. With this in mind our first Rustic Chair Making Course took place this February.
The Ingredients
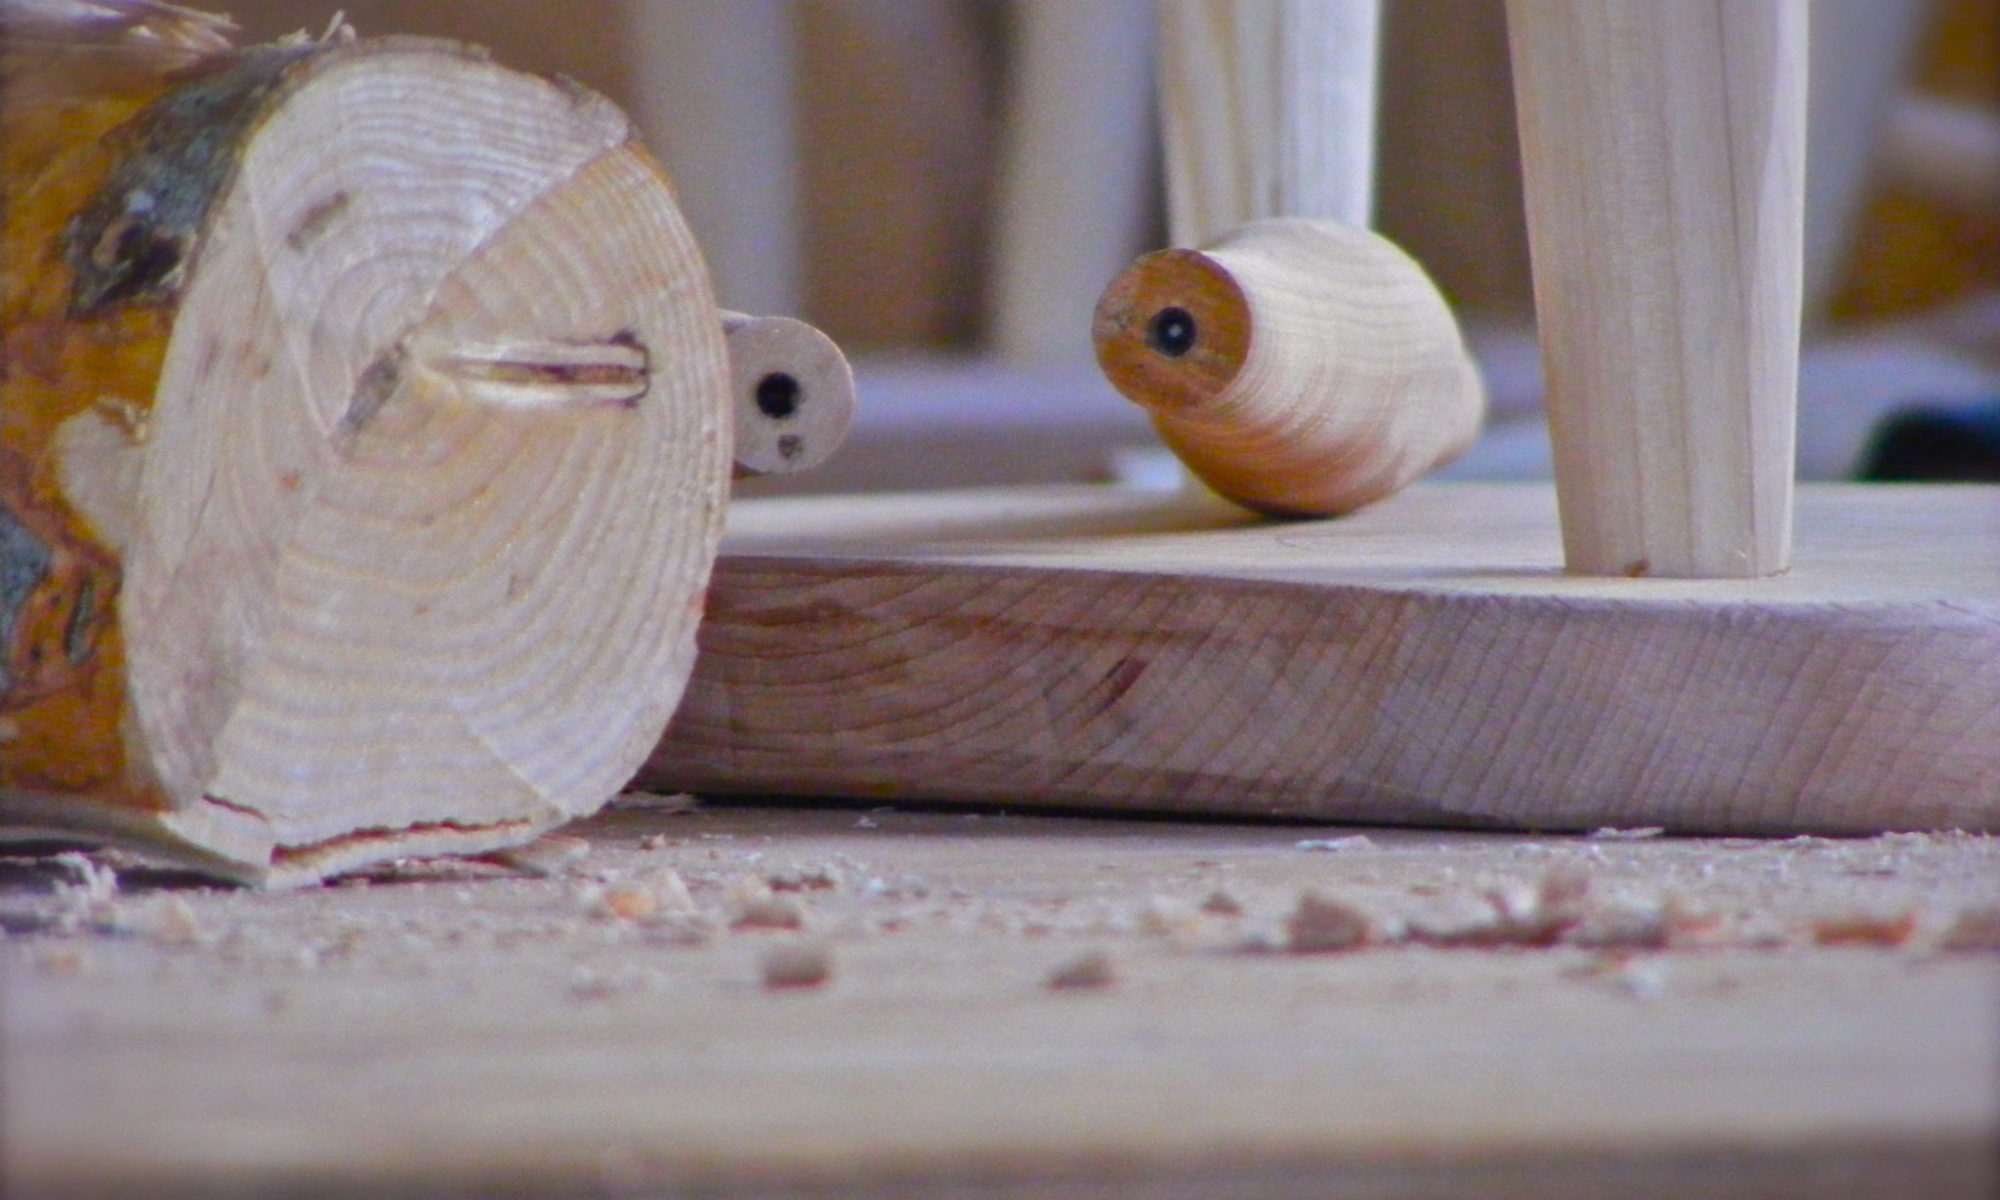
I would start the course with a load of freshly cut logs left as long as possible, which is about six feet as I have to carry them out of the woods near the workshop. I would also have as many species available as I could, this very much depends on the time of year and the work I have been doing prior to the course. In this case, we had Ash, Sycamore and some rather nice Cherry. I also provided seasoned beech slabs, again these were left as large as feasibly possible. So we have all the ingredients in place along with the equipment.
Next came the recipe, could I really expect people to design their own chair, they had after all come to me to learn how to make the chair and designing requires a whole other set of skills and factors to consider. How then to ensure that each person could create their own piece of furniture in just one week and be certain that when it came to it the chair was comfortable and well proportioned?
The Recipe
I then set about listing the options available. I have no steam bending set up as yet in my work shop, so that simplified things a bit. Although steam bending is a truly wondrous thing to do it is time consuming and often slightly unpredictable, so bow backed chair was not on the menu.
Stick back or ladder back, that was a good start. Was a
The Instructions
So I felt that I could deal with the mechanics and practicality of quite a wide range of designs, but how to ensure that it all came together in the end. All of the chairs that I have made recently were quite unusual and specific to the client’s needs, these would not do as templates for a course. So, I set about designing a chair that could be adapted, the spacing’s and angles were all worked out for a demonstration chair, an average chair that would be comfortable (I hoped) and fairly achievable in the time available. This was to be my starting point, it was an imaginary chair that could be made in any of the ways I have mentioned and still work. An ‘average’ to act as a starting point, it could be made wider, taller, deeper in fact altered in any way and by carefully tweaking the dimmensions and angles would still definitely be a lovely functional chair.
In doing all of this I did not in any way detract from or diminish the skills to be gained and determination needed by participants to complete their project, neither I hope did I limit there input or influence on the chair they chose to make. Rather, I tried in some way to provide as blank a canvas as possible with a number of options. It also encouraged a view of the bigger picture from the onset and allowed me, the teacher the time to focus on the detail of the process.
Perhaps, I should call the course ‘Design & Build Your Own Chair’ because that is exactly what happened.
I cant wait for the next one.