Increasingly I am being asked to make things that require the use of fully seasoned timber rather than Green Wood. Unusually for me, the timber is seasoned before I get to it with my tools rather than afterward. As my workshop, tools, hands, and head are set up to deal with wood that is still unseasoned this poses certain challenges. With only the bare minimum of power tools and limited space, I set about making a fitted wardrobe for customers in Exminster.
As ever I was involved in the entire process from tree to bedroom and this is a brief story of how a bodger managed to make a very un ‘green wood’ wardrobe.
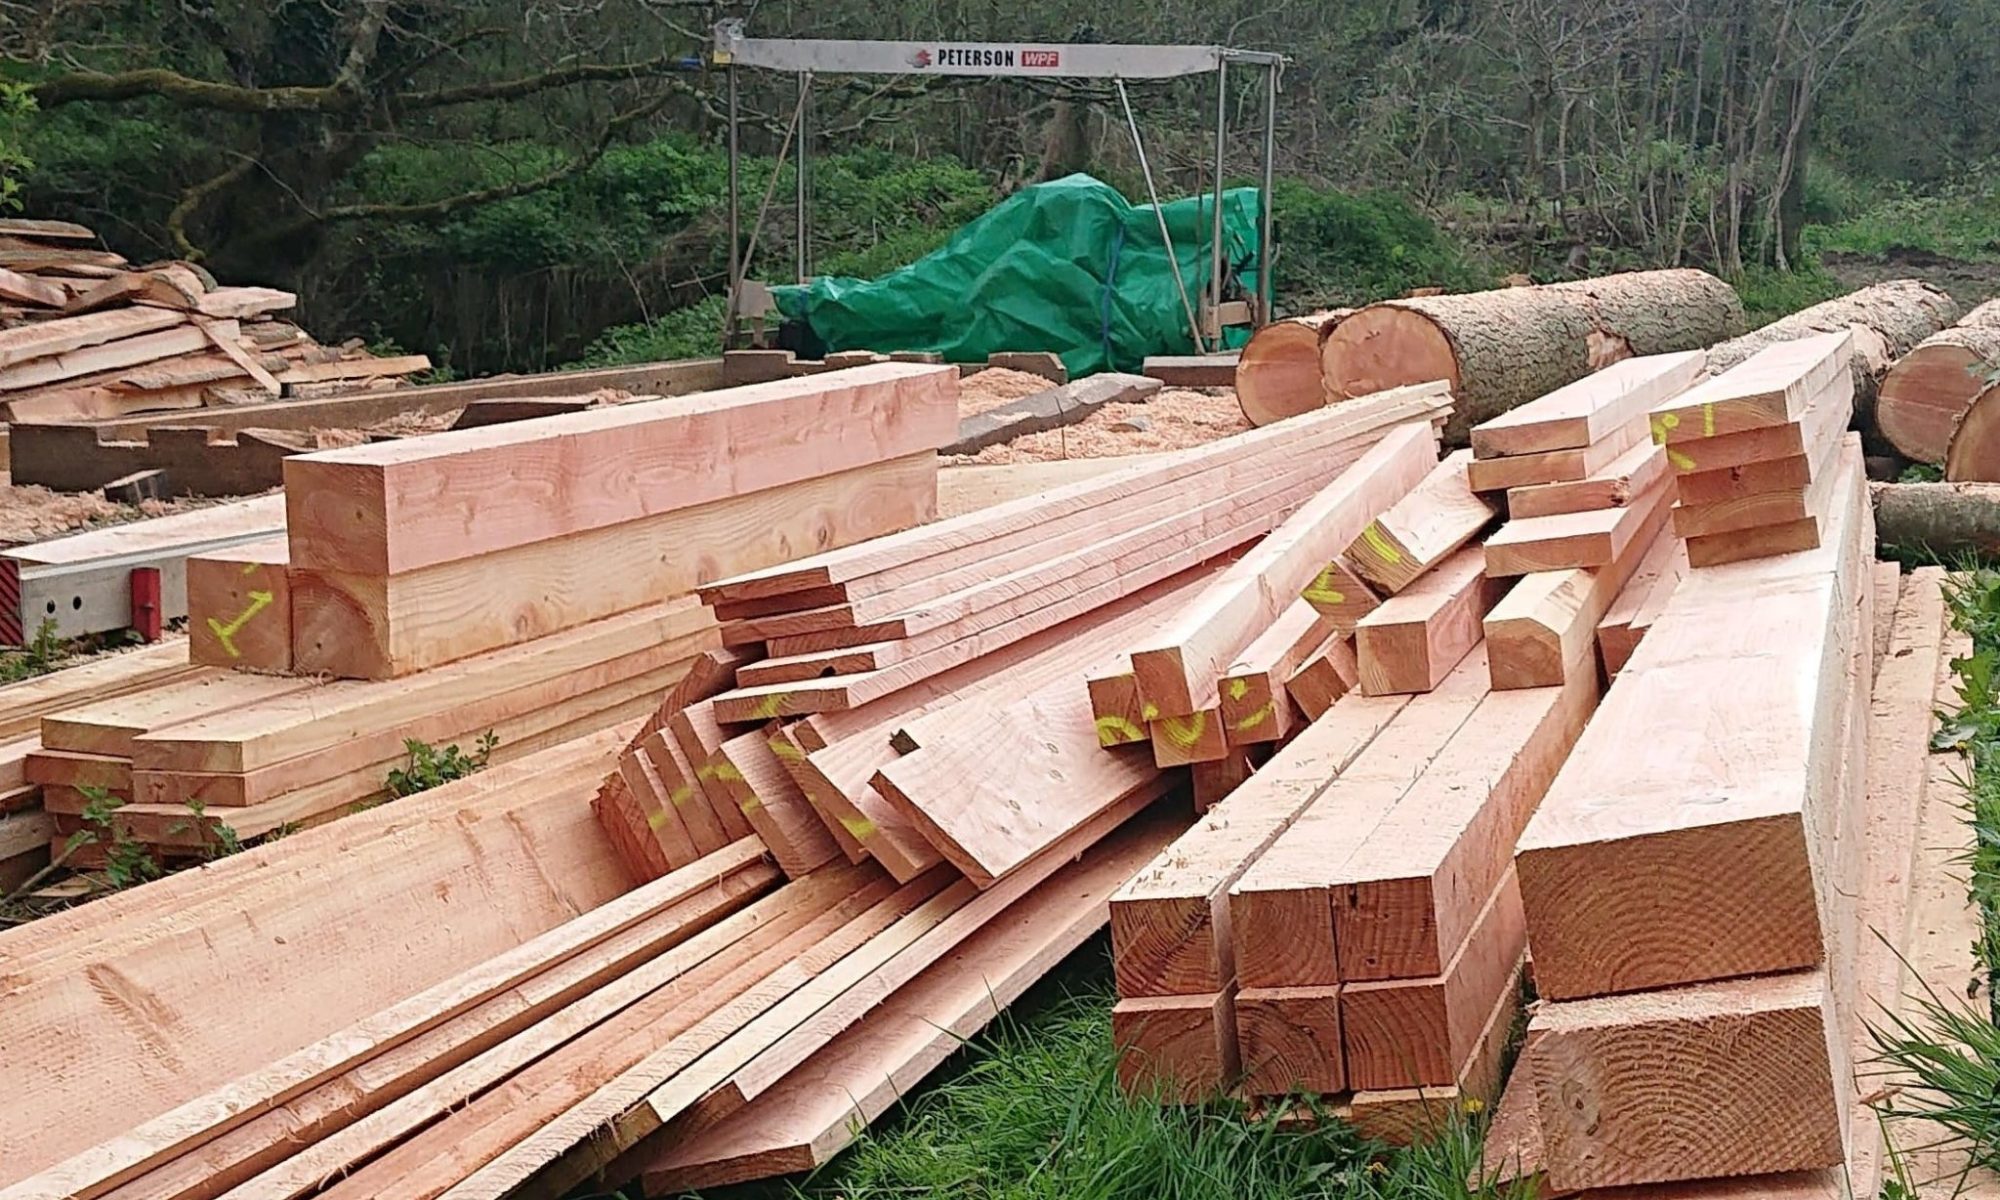
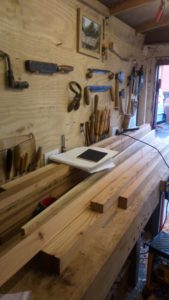
Once again Jim white of Whitewood Management was able to provide ideal material. Larch felled from near Okehampton and milled several years ago on his Peterson sawmill. This had then been air dried for several years in ideal conditions and then stored under load to prevent distortion or warping, perfect.

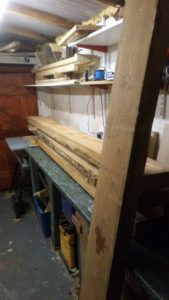
The timber was in large 8 by 4-inch sections some sixteen feet in length. I select two boards that were straight and relatively knot free, cut them to approximate lengths and brought them home. I was now in the happy position of having everything I needed for the job, well almost. Choosing the correct and most suitable piece of wood for a project is equally important whether it is small diameter green wood or seasoned boards. Any unforeseen defects can cause havoc with your plans later down the line. The Green-Wood approach almost forces you to work with and incorporate these defects or characteristics into your work. I handled correctly the end product is all the better for it. What I needed now though was timber that I could bend (or straighten) to actually obey my wishes.
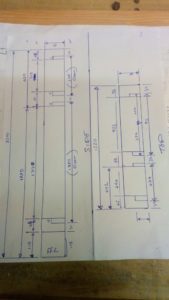
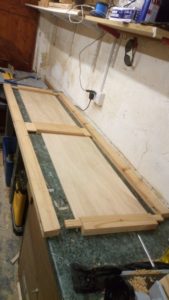
These boards must be sectioned up and straightened so that when assembled the doors would line up, close (and remain) closed and the hinges would fit etc. I had already roughly worked out that I had enough material of the appropriate lengths and now set about my cutting list for the numerous individual components of the frame and six doors. The result can be seen the opposite, this was transcribed onto a full-length board to give the actual dimensions that were needed for the job.
I was now well and truly on the outside of my comfort zone, I have worked on numerous timber frame projects and have built several pieces of furniture this way for our home… But this was for a client… It had to be right!
Having re-sawed the boards using my basic but perfectly adequate table saw and miter saw. I used a benchtop jointer plane and enlisted the help of a friend, who might have been an actual joiner.
Suppressing my urge to yell, “straight enough is fine” and “don’t worry I can incorporate that into the final design” I bit my tongue as we worked the individual pieces until they were straight square and true, oh and the correct size of course.
I have since reverted to a hand plane for squaring timber (there is a dining table on its way matching those chairs I made). That said I can not devalue the ease and functionality of a surface planer, they are simply not as pleasant to use.
Now back in more comfortable territory, it was time to cut the mortise and tenon joints for the frame. I decided to follow the conventional rather than traditional route to do this and set up my table saw and miter saw to cut the tenons. If you are going to use machines to do your work for you, the pleasure comes from using them to the best of their abilities. I spent a good while truing the fences, blades and calibrating the scales. All of this paid off as I was able to quickly cut all the tenons for doors and frames. My bench morticer did the rest. A quick and satisfying clean up with a favorite chisel and we were ready to put it together.
To keep costs down for the client and to make life easier for me hardwood ply was used for the door panels. Recesses were cut on the table saw and finished by hand, I still don’t own or want to own a router. With the aid of a couple of quickly knocked up right angle jigs and a flat workbench, the doors went together. Against my better judgment, I used expanding joiners glue and have since vowed (again) never to use it EVER again. It may be effective but it is messy and unpleasant to use, being self-taught I have never shied away from the imperfections in my work and do not need a hideous chemical concoction to make me feel better about the slight gaps or miss alignments that inevitably (if very occasionally) occur.
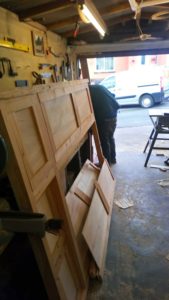
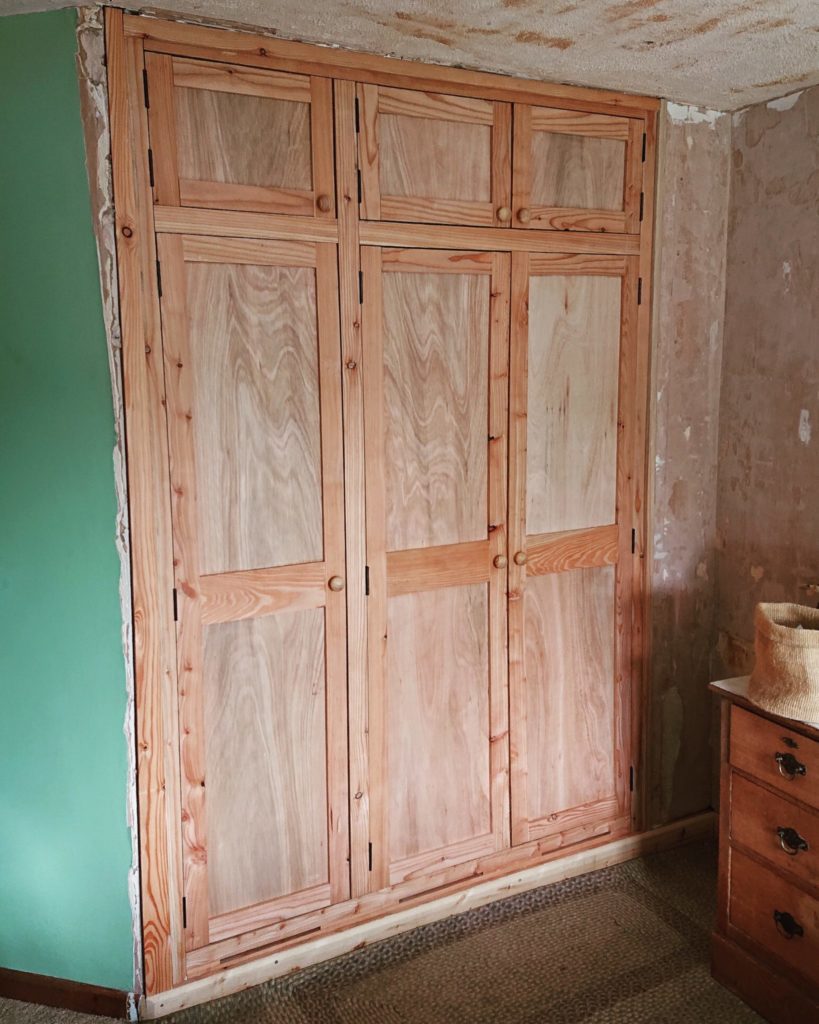
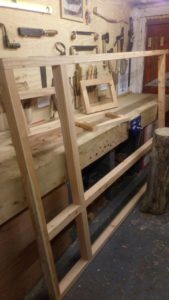
We now have significantly fewer bits of wood laying around the “garage size” workshop which is now very full of a “bedroom size” wardrobe door frame. As predicted the doors almost but didn’t quite fit the frame, fine we can plain them down and square them up to fit! But we cant put the frame together, there is no way we could get it up the stairs to the bedroom. With no flat surface large enough to lay the frame flat on, the doors were planed (by hand) and fitted whilst the frame was propped up against the workbench. I took great pleasure from the simple task of chiseling the recesses for the hinges, taking my time and reveling in the peace, quiet and the satisfyingly repetitive nature of the job. Would it fit? Would it all line up as expected, these were problems for another day, I had thirty identical three-millimeter recess to chisel out of this lovely wood, that was good enough for now.
I could, I suppose of fitted the frame in the bedroom and then fitted the doors on site! There was a very good reason for not doing this though. The client was very imminently expecting a baby and I did not want to be in part ownership of their master bedroom when the family suddenly got bigger by one. So came the day when the kids (mine) were speedily deposited at school, the van loaded and a mad dash through the village made with bits of wardrobe. Carried upstairs in the now quiet house it soon became apparent that YES it does fit and it is straight and YES the doors still go on and close, mostly. A few tweaks here and there and a slight upgrade of the latches to compensate for very minor twists in the timber (it wasn’t like that a few days ago, I assure you) and there you have it. After another visit to fit some cunningly shaped cover strips, a shelf and rail my work was done. Lots of lessons learned and proof that determination can prevail.