
In my last blog, I had almost completed the first of a set of dining chairs, or so I thought…..
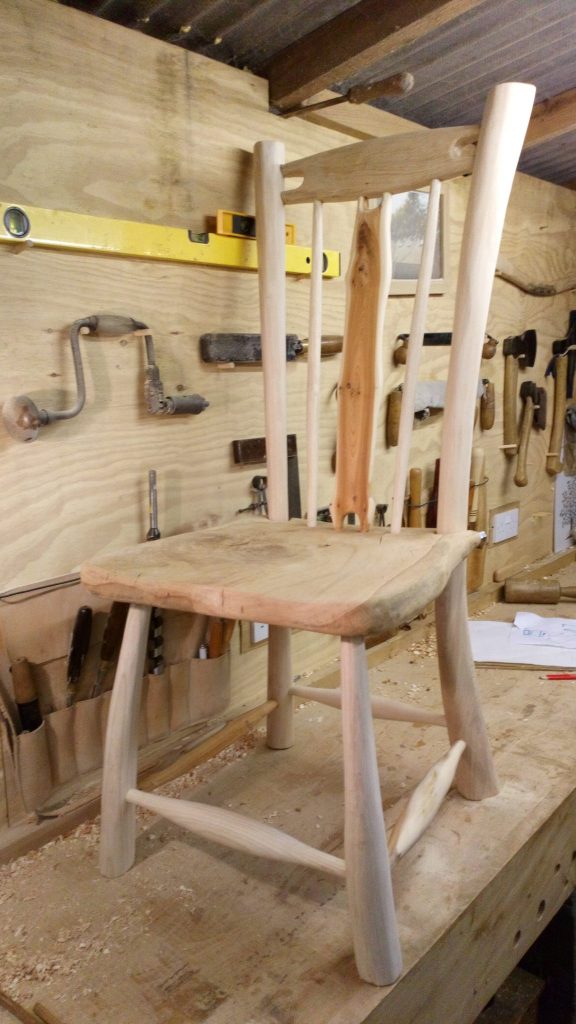
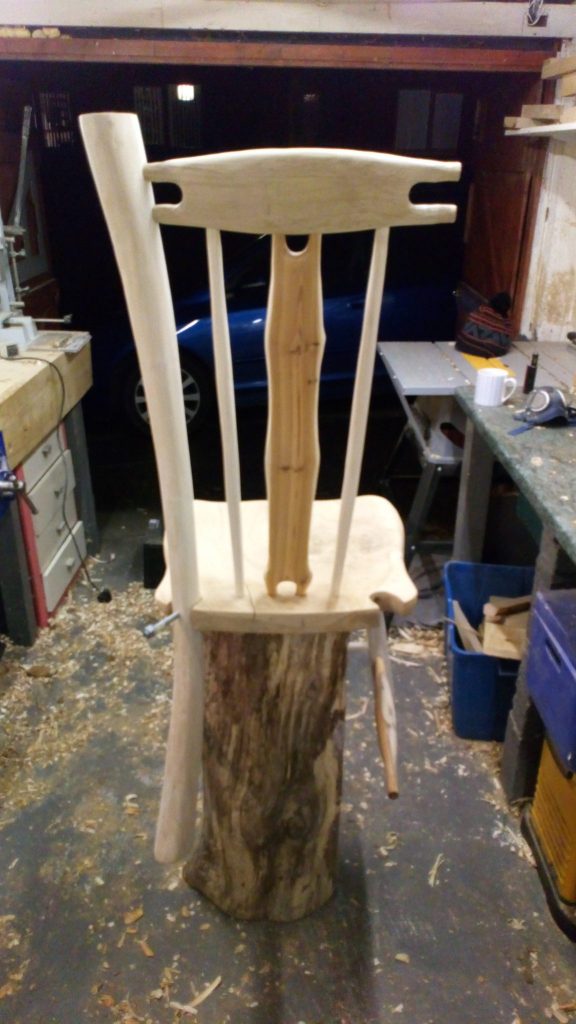
Shortly after I posted the first chair really took shape, as you can see below. At this stage it was roughly assembled, unglued and in need of final sanding and finishing. This is the point at which I note and remedy any discrepancies in the shape of the components and the angles of the finished chair. It is also the point at which you can test to see how comfortable, or not, the chair will be.
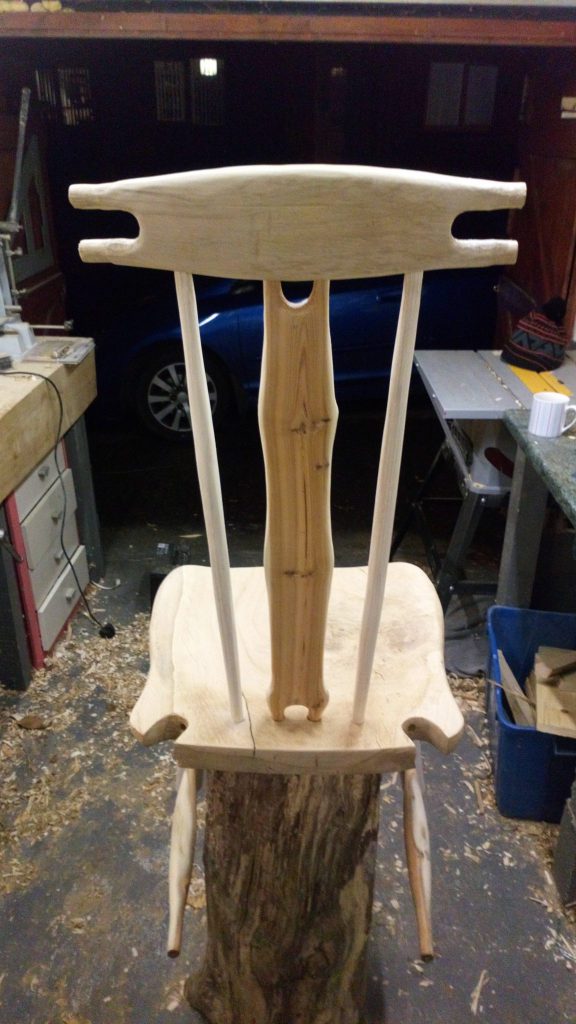
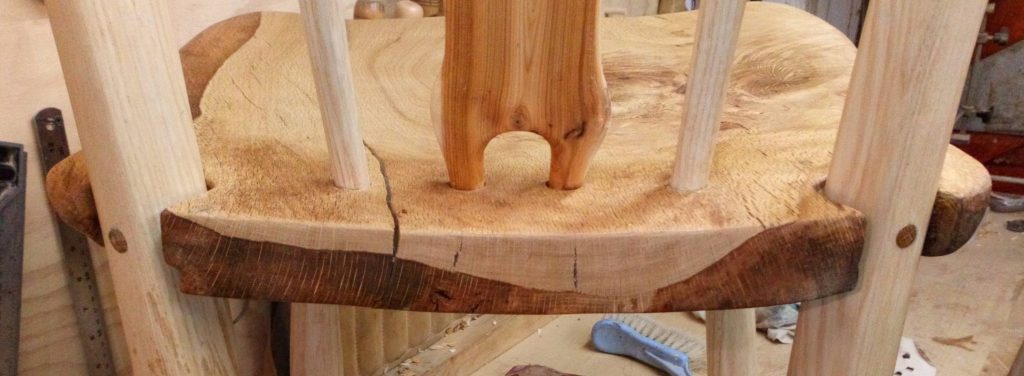
The chair is now completed, except for four pieces of oak. Two “blind”wedges that secure the front legs into their mortises and two pegs that will secure the rear legs to the seat.
I now started on the second chair with this one as my reference. If needed I could remove components to check size and shape, in this way I hoped to produce to very similar yet equally unique chairs. I would then repeat this for the remaining two chairs. As the components were already prepared the second chair went together very well, and confirmed that all the time spent designing and producing templates was time well spent.
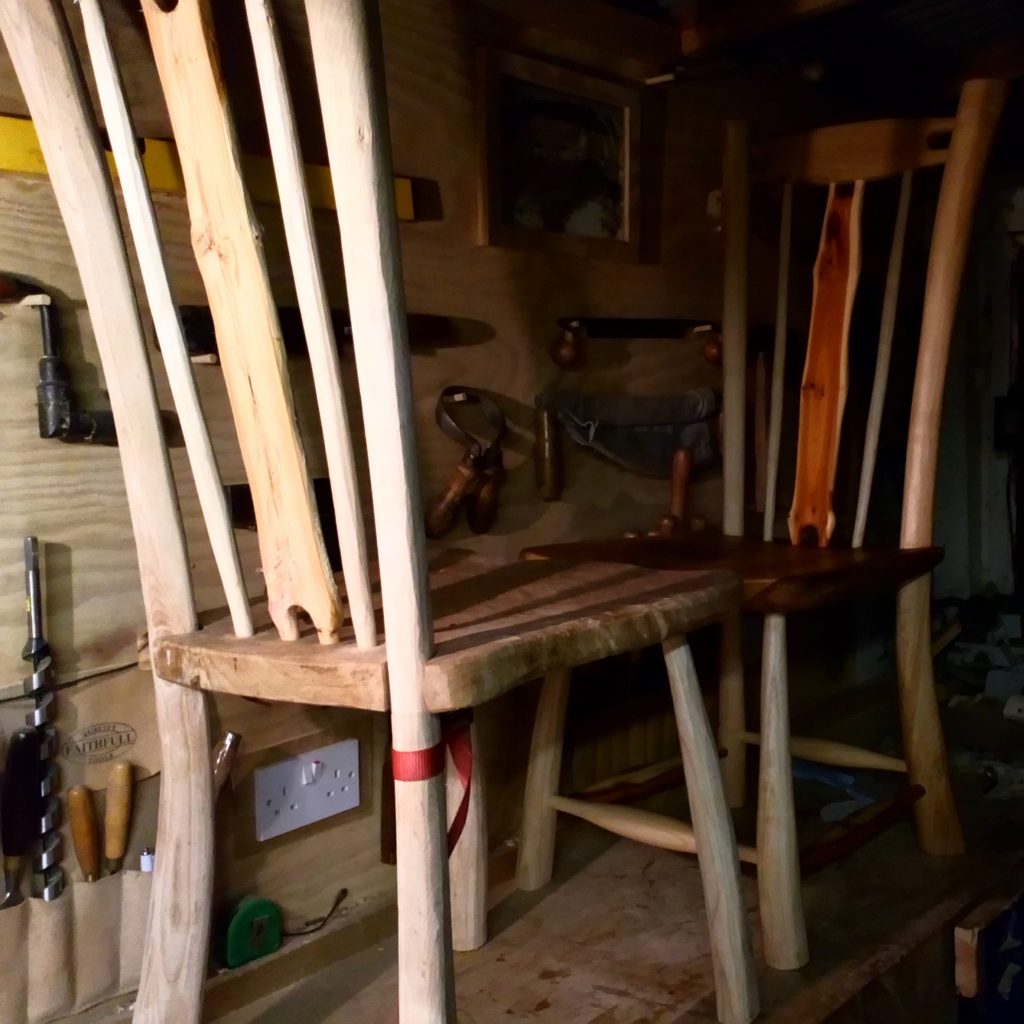
With number two together but not finished I decided to give number one the final finishing touches. This meant completely dismantling for the final sand and finish before reassembling for the final time with wood glue, wedges and pins.

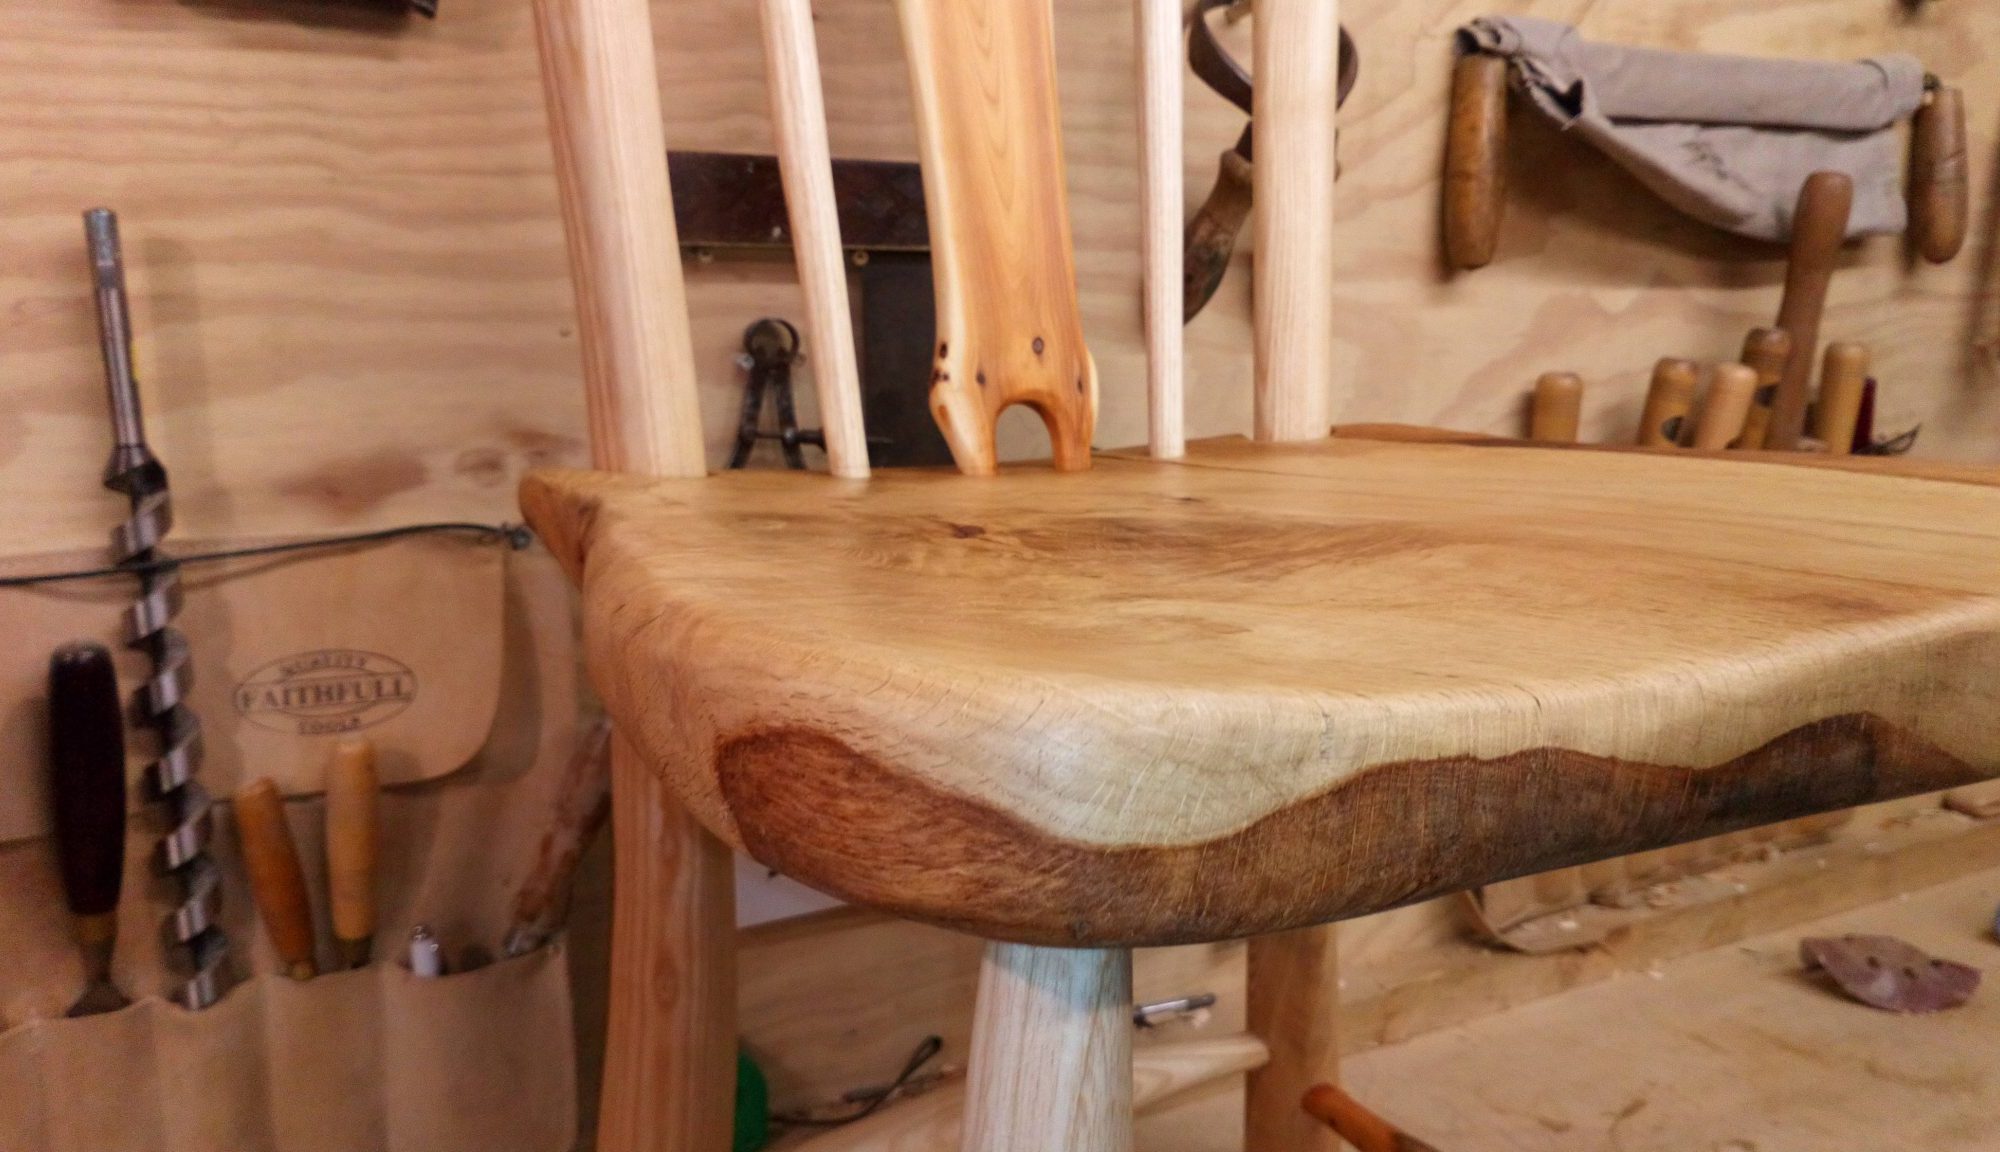
On fitting the final leg things got unduly interesting, as is often the way with green wood work. A stabilised drying crack in the seat took offence to my gentle efforts to tighten up the joints and started to propagate along the seat. The legs must slot evenly into the recess in the seat whilst securely fitting the stretchers and comb mortises into the tenons. Each leg has a total of five round mortises all of which must be eased into position with out (as happened) excessive force being placed on the seat slab. This slab is the most characterful of the set and therefore it is also the most prone to failure. Although the crack was not structurally significant it needed attention. Once finally assembled I fitted the pegs into the rear of the legs and set to work on the seat.
As the fibres on the top of the chair had not separated I decided to embellish the underside with some butterfly joints which would prevent further movement and eliminate any flex in the seat.
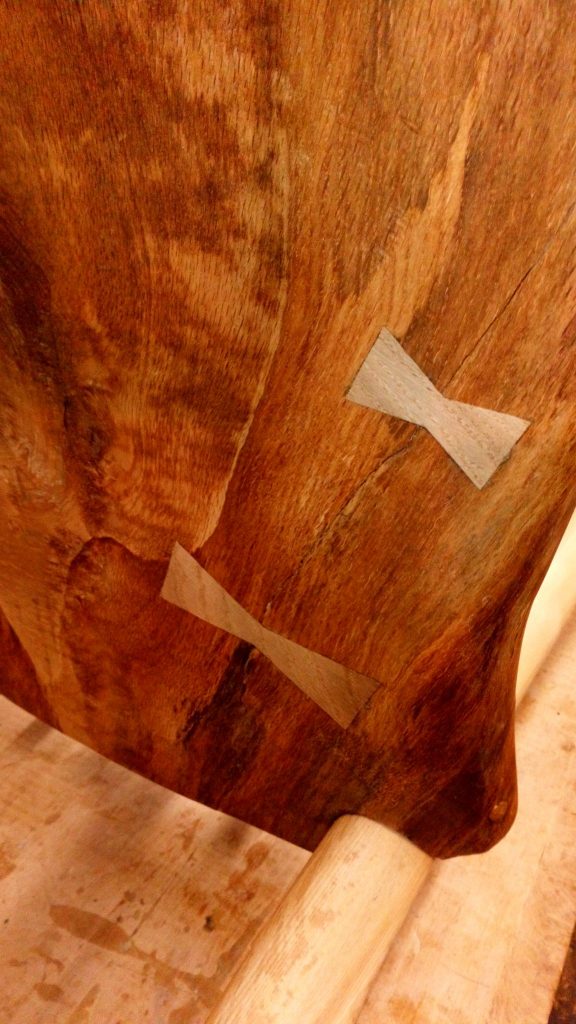
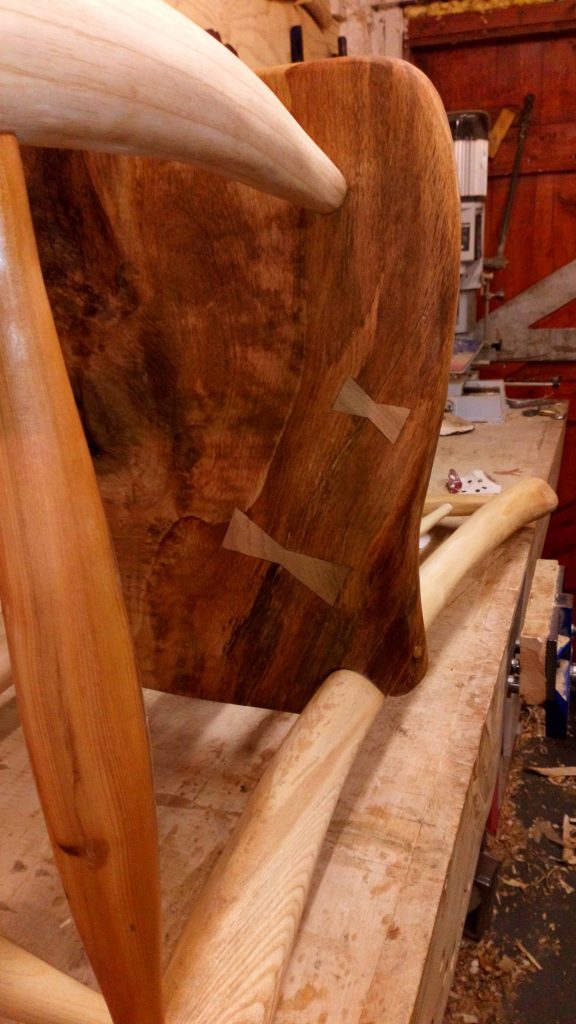
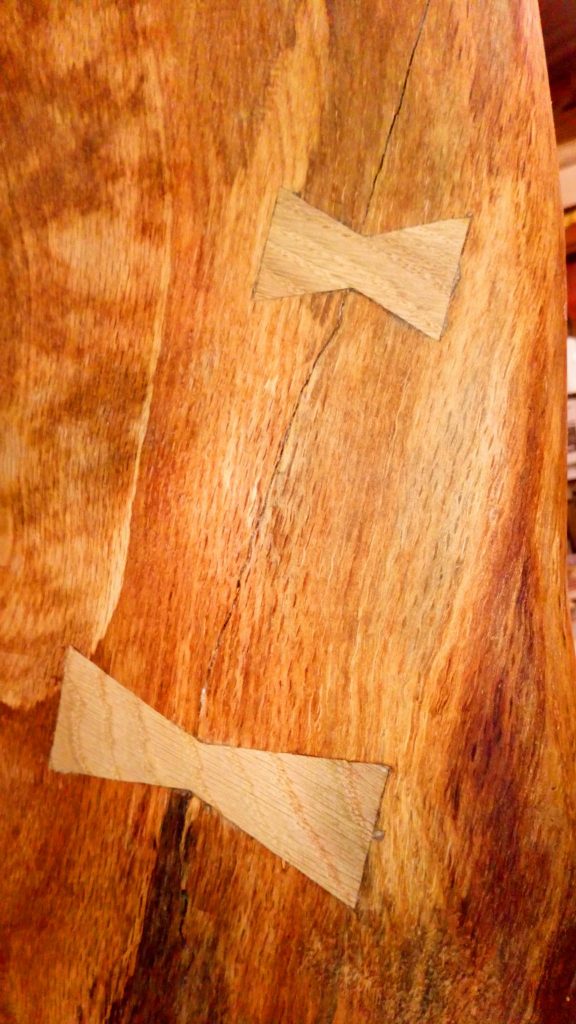
Fortunately I had some oak left over from the comb which I used for the inserts and the result is both beautiful and effective, if a little nerve wracking.
And there we have it the first chair finished and oiled, number two is not far behind and three and four are ready to assemble.

Oh and the clients (thank you) have requested another two, so one down five to go…….